Foam rolling is a great way to reduce muscle soreness and speed up recovery. Start with the calf muscles, using a high-density foam roller for targeted release. Move on to your quadriceps, rolling slowly from your knee to your hip. For hamstrings, adjust pressure by lifting your hips. Next, focus on your upper and lower back to ease stiffness. Don't forget to activate your glutes as well. Incorporate these techniques into your routine, breathing deeply to promote relaxation. There's plenty more you can do to enhance your recovery game, so keep exploring additional techniques to optimize your routine.
Core Insights
- Use a high-density foam roller for deep tissue release, especially on sore muscle groups like calves, quadriceps, and hamstrings.
- Roll slowly over tight areas, spending 30 seconds to one minute on each muscle group to maximize relief.
- Adjust pressure by changing body positions, such as lifting hips or crossing legs for deeper foam rolling effects.
- Focus on breathing deeply and staying relaxed to enhance muscle relaxation and improve blood flow during the process.
- Incorporate foam rolling into your recovery routine post-workout to alleviate soreness and reduce the risk of injury.
Understanding Foam Rolling
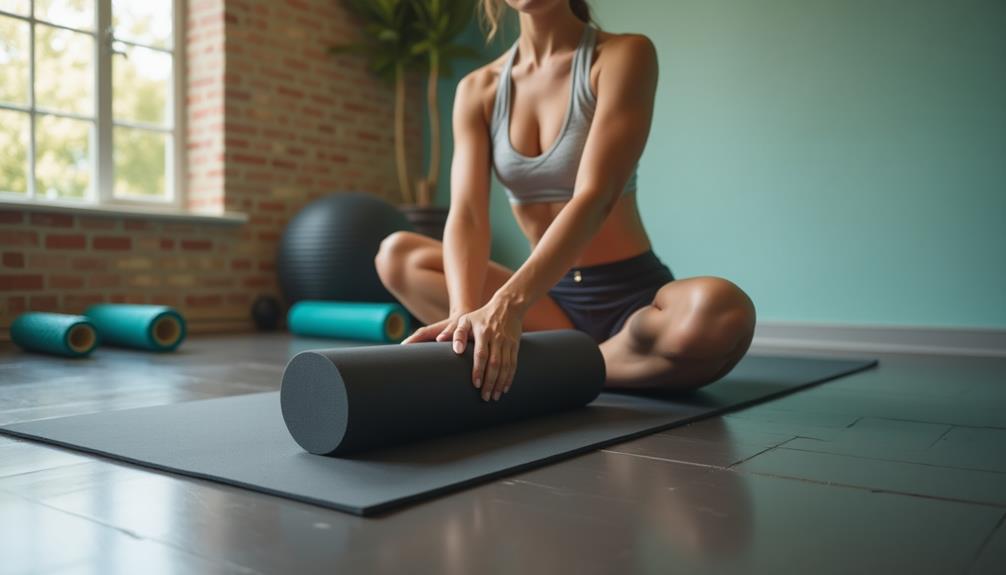
Foam rolling is a self-myofascial release technique that helps alleviate muscle soreness and improve flexibility. When you roll over your muscles with a foam roller, you apply pressure that releases tight knots and promotes blood flow. This process enhances your recovery after workouts and can reduce the risk of injury. While foam rolling is effective, some individuals prefer infrared heat pads for targeted muscle relief, especially in hard-to-reach areas. These pads can complement foam rolling for a necessary recovery approach.
To get started, find a comfortable space and choose a foam roller. Focus on one muscle group at a time, such as your calves or thighs. Slowly roll back and forth, pausing on any tender spots for 20-30 seconds. It's crucial to breathe deeply during this process, as it helps relax your muscles. Regular foam rolling can lead to increased mobility and overall better muscle function.
Choosing the Right Foam Roller
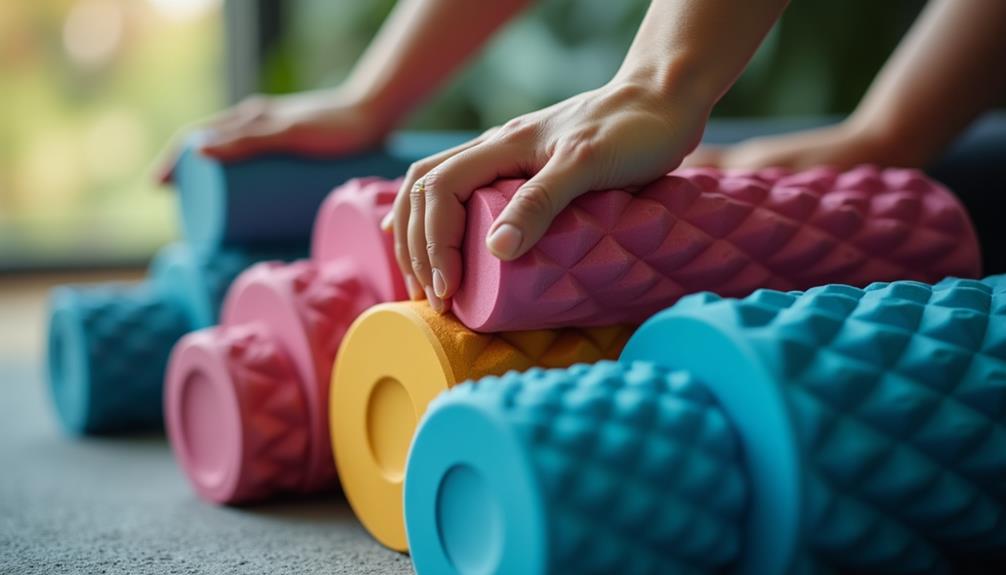
Next, think about the size and shape. Standard rollers are great for large muscle groups, but smaller, targeted rollers can help with specific areas like your back or calves. When selecting a foam roller, consider factors similar to those for cooling towels, such as material composition and portability. The right foam roller should be easy to carry and store, much like a compact cooling towel.
Also, pay attention to the texture. Smooth rollers offer a gentle experience, while ridged or patterned rollers can provide increased pressure and stimulation.
Ultimately, it's about finding a roller that meets your personal needs and comfort level, ensuring you get the most out of your recovery routine.
Calf Muscle Release
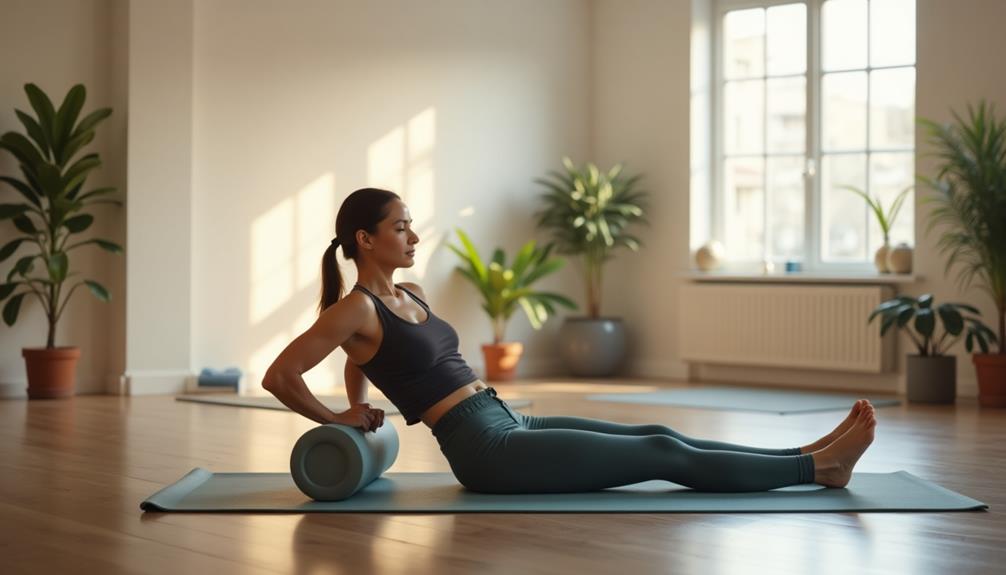
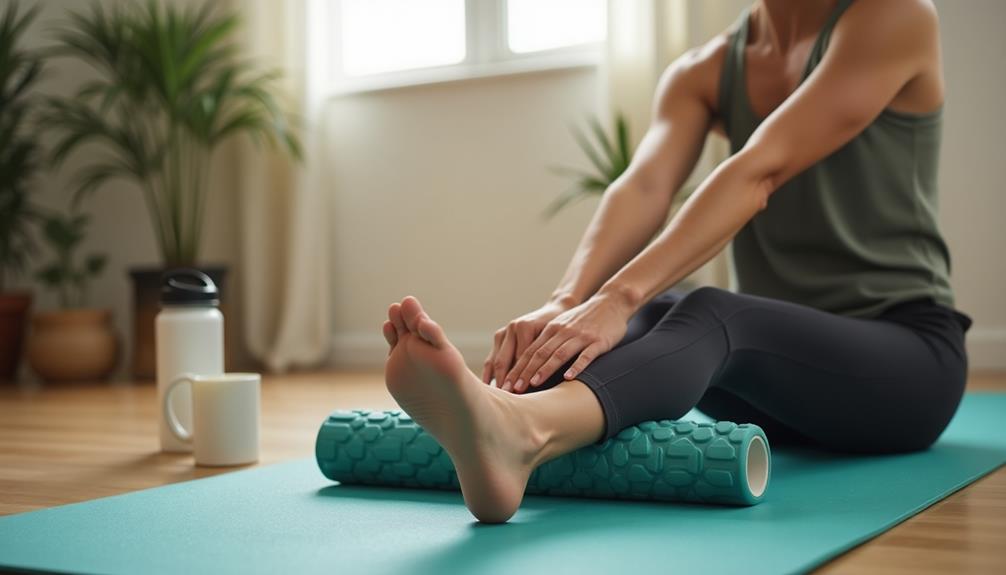
Releasing tension in your calf muscles can greatly enhance your overall mobility and reduce soreness after intense workouts. Start by sitting on the floor with your legs extended. Place the foam roller under your calves, just above your ankles. Using your hands for support, lift your body and gently roll back and forth. Focus on areas that feel tight or sore. You can vary the pressure by adjusting your body weight. For deeper relief, cross one leg over the other to increase pressure on the lower calf. When selecting a foam roller, opt for a high-density option that provides firm pressure for effective deep tissue release. Spend about 30 seconds to one minute on each calf. Finish by stretching your calves to promote further flexibility. Regular foam rolling can make a noticeable difference in your recovery process.
Quadriceps Foam Rolling
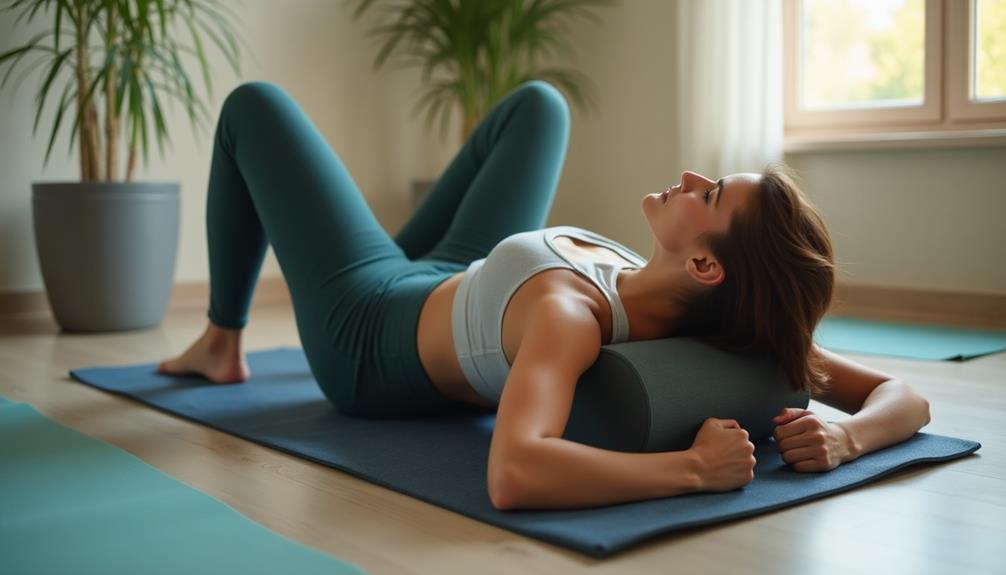
The quadriceps, a group of muscles located at the front of your thighs, often hold tension after activities like running or squatting. Foam rolling can help alleviate this discomfort and improve flexibility.
Quadriceps Foam Rolling Techniques
| Step | Action | Duration |
|---|---|---|
| 1 | Sit on the foam roller | 30 seconds |
| 2 | Roll slowly from knee to hip | 1–2 minutes |
| 3 | Focus on tight areas | Add 30 seconds per area |
To perform this technique, start by placing the roller under your thighs. Shift your weight to roll over the foam, letting it work out knots. Remember to breathe and stay relaxed as you roll. This process can notably reduce muscle soreness.
Hamstring Relief Techniques
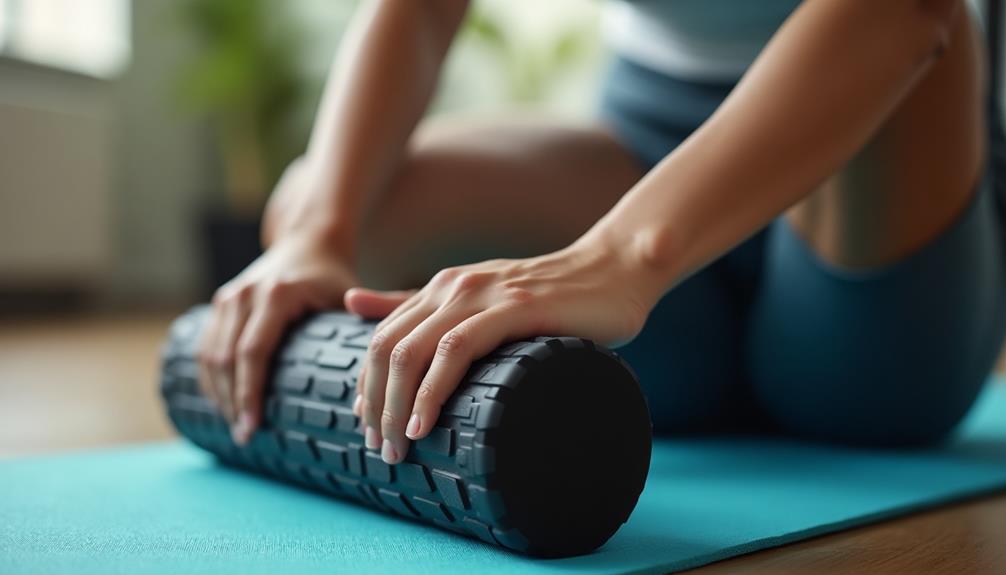
After addressing the quadriceps, it's time to focus on the hamstrings, which often bear the brunt of intense workouts. To begin, sit on the floor with your legs extended. Place the foam roller under your hamstrings, just above the knees.
Gently roll back and forth, taking care to pause on any tender spots. You can adjust the pressure by lifting your hips or bending your knees.
For deeper relief, cross one leg over the other, targeting one hamstring at a time. Spend about 30 seconds on each area, allowing your muscles to relax.
Remember to breathe deeply as you roll. This technique helps alleviate tightness and promotes blood flow, ultimately aiding recovery after challenging sessions.
IT Band Stretching
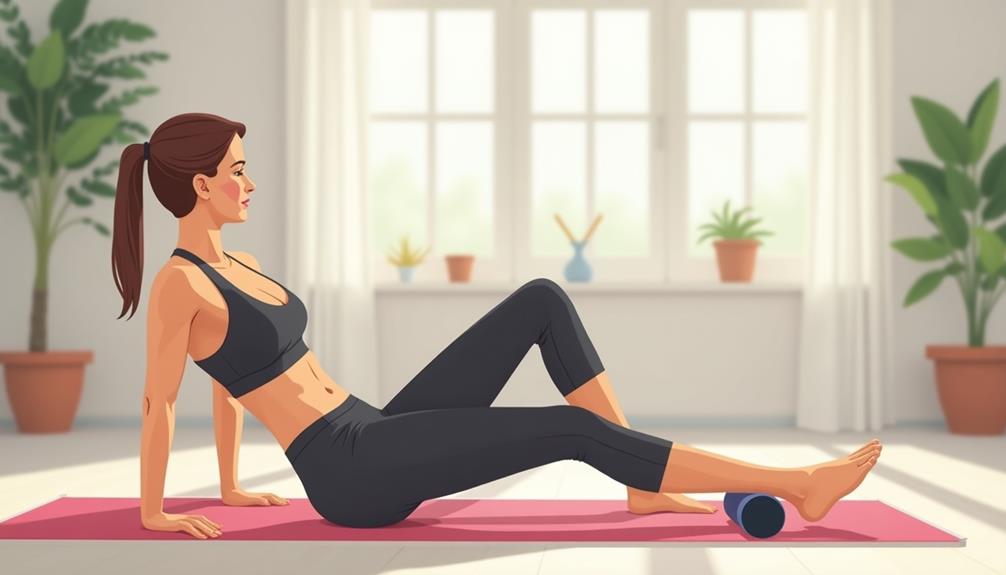
To stretch it, start by standing and crossing your right leg behind your left. Lean to the left side, feeling the stretch along the outside of your right leg. Hold this position for 15-30 seconds.
Switch sides and repeat. You can also lie on your back, pulling one knee towards your chest while letting the other leg fall to the side. This variation helps deepen the stretch. Incorporate these stretches regularly for better mobility and reduced soreness.
Upper Back and Shoulder Release
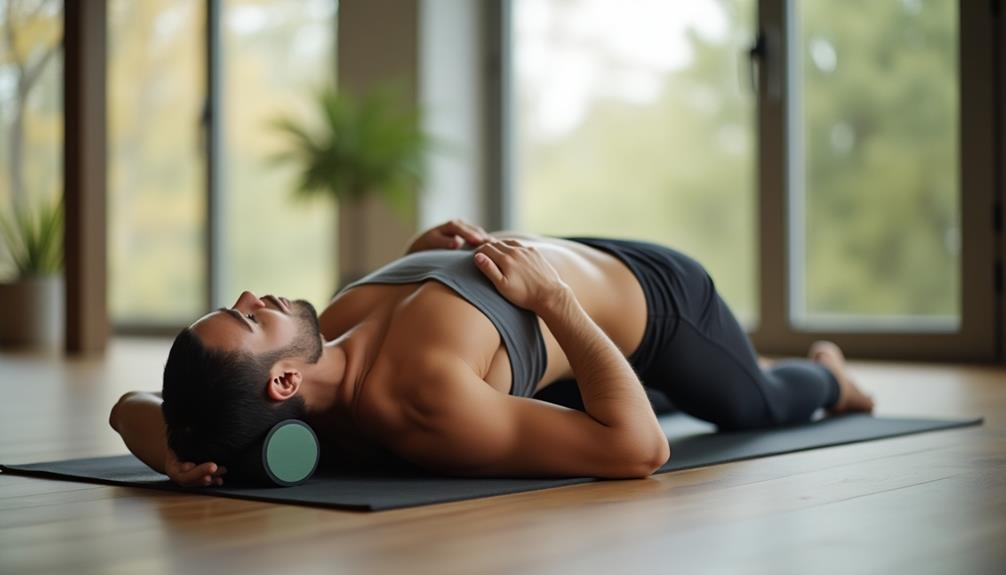
Stretching your IT band can improve overall mobility, but don't forget about the importance of releasing tension in your upper back and shoulders. Using a foam roller for this area is simple and effective.
Step 1: Positioning
Sit on the floor with your roller behind you. Lean back gently, placing the roller under your upper back.
Step 2: Rolling
Slowly roll up and down between your shoulder blades. Keep your arms crossed over your chest or extended for added pressure.
Step 3: Focus on Tight Spots
When you find a tender area, pause and take deep breaths. Hold for 20-30 seconds to release the tension.
Step 4: Finish
After rolling, take a moment to stretch your arms overhead, enhancing the release in your shoulders and upper back.
Lower Back Foam Rolling
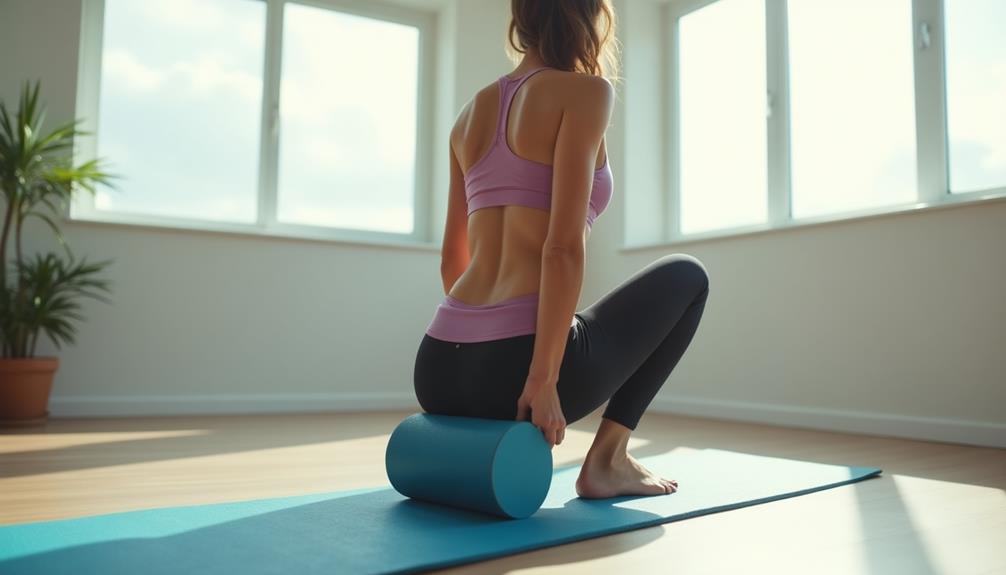
Foam rolling your lower back can be a game changer for alleviating soreness and tension. Start by sitting on the floor with your legs extended. Place the foam roller under your lower back, ensuring it's positioned between your hips and rib cage.
Gently lean back, resting your body weight on the roller. Roll slowly from side to side and up and down, focusing on tight areas.
Don't rush this process; spend about 30 seconds to a minute on each tight spot. If you feel discomfort, adjust the pressure by using your hands or legs for support.
Always listen to your body and avoid rolling directly on your spine. This technique can help release muscle tightness and promote better mobility.
Glute Activation Techniques

After relieving tension in your lower back, it's time to focus on activating your glutes. Proper glute activation can enhance your performance and prevent injuries. Start with the glute bridge. Lie on your back, knees bent, and feet flat on the floor. Press through your heels, lift your hips, and squeeze your glutes at the top. Hold for a few seconds, then lower down. Repeat this for 10 to 15 reps.
Next, try clamshells. Lie on your side, knees bent, and feet together. Keeping your feet in contact, lift your top knee while keeping your hips stable. Lower and repeat for 10 to 15 reps on each side. These techniques will help you engage your glutes effectively.
Post-Rolling Recovery Tips
To maximize the benefits of foam rolling, it's important to incorporate effective post-rolling recovery tips into your routine. Start by hydrating. Water helps flush out toxins released during rolling, aiding muscle recovery. Next, consider a light snack rich in protein and carbohydrates. This will replenish energy and support muscle repair.
Stretching is also essential. After rolling, gentle stretches can improve flexibility and reduce tension. Make sure to allow your body time to rest. A good night's sleep enhances recovery by promoting muscle repair.
Frequently Asked Questions
How Often Should I Foam Roll Each Week?
You should foam roll about three to four times a week for best results. Listen to your body; if you're feeling sore or tight, roll more frequently. Consistency will help improve your overall muscle recovery.
Can Foam Rolling Cause Bruising or Injury?
Foam rolling's like a double-edged sword; it can soothe sore muscles or lead to bruising if you're not careful. Pay attention to your body's signals, and you won't risk injury while rolling away tension.
Is Foam Rolling Safe for Beginners?
Yes, foam rolling is safe for beginners. You should start slowly and listen to your body. It helps improve flexibility and can relieve muscle tension, but always avoid excessive pressure to prevent discomfort or injury.
Should I Foam Roll Before or After Workouts?
Think of foam rolling as a gentle hug for your muscles. You should foam roll after workouts to help ease tension and promote recovery, but a light roll beforehand can also prepare your body for exercise.
What Are the Benefits of Foam Rolling for Athletes?
Foam rolling helps you improve flexibility, enhance blood flow, and reduce muscle tightness. It can aid in recovery, prevent injuries, and boost overall performance, allowing you to train harder and achieve your athletic goals more effectively.

